
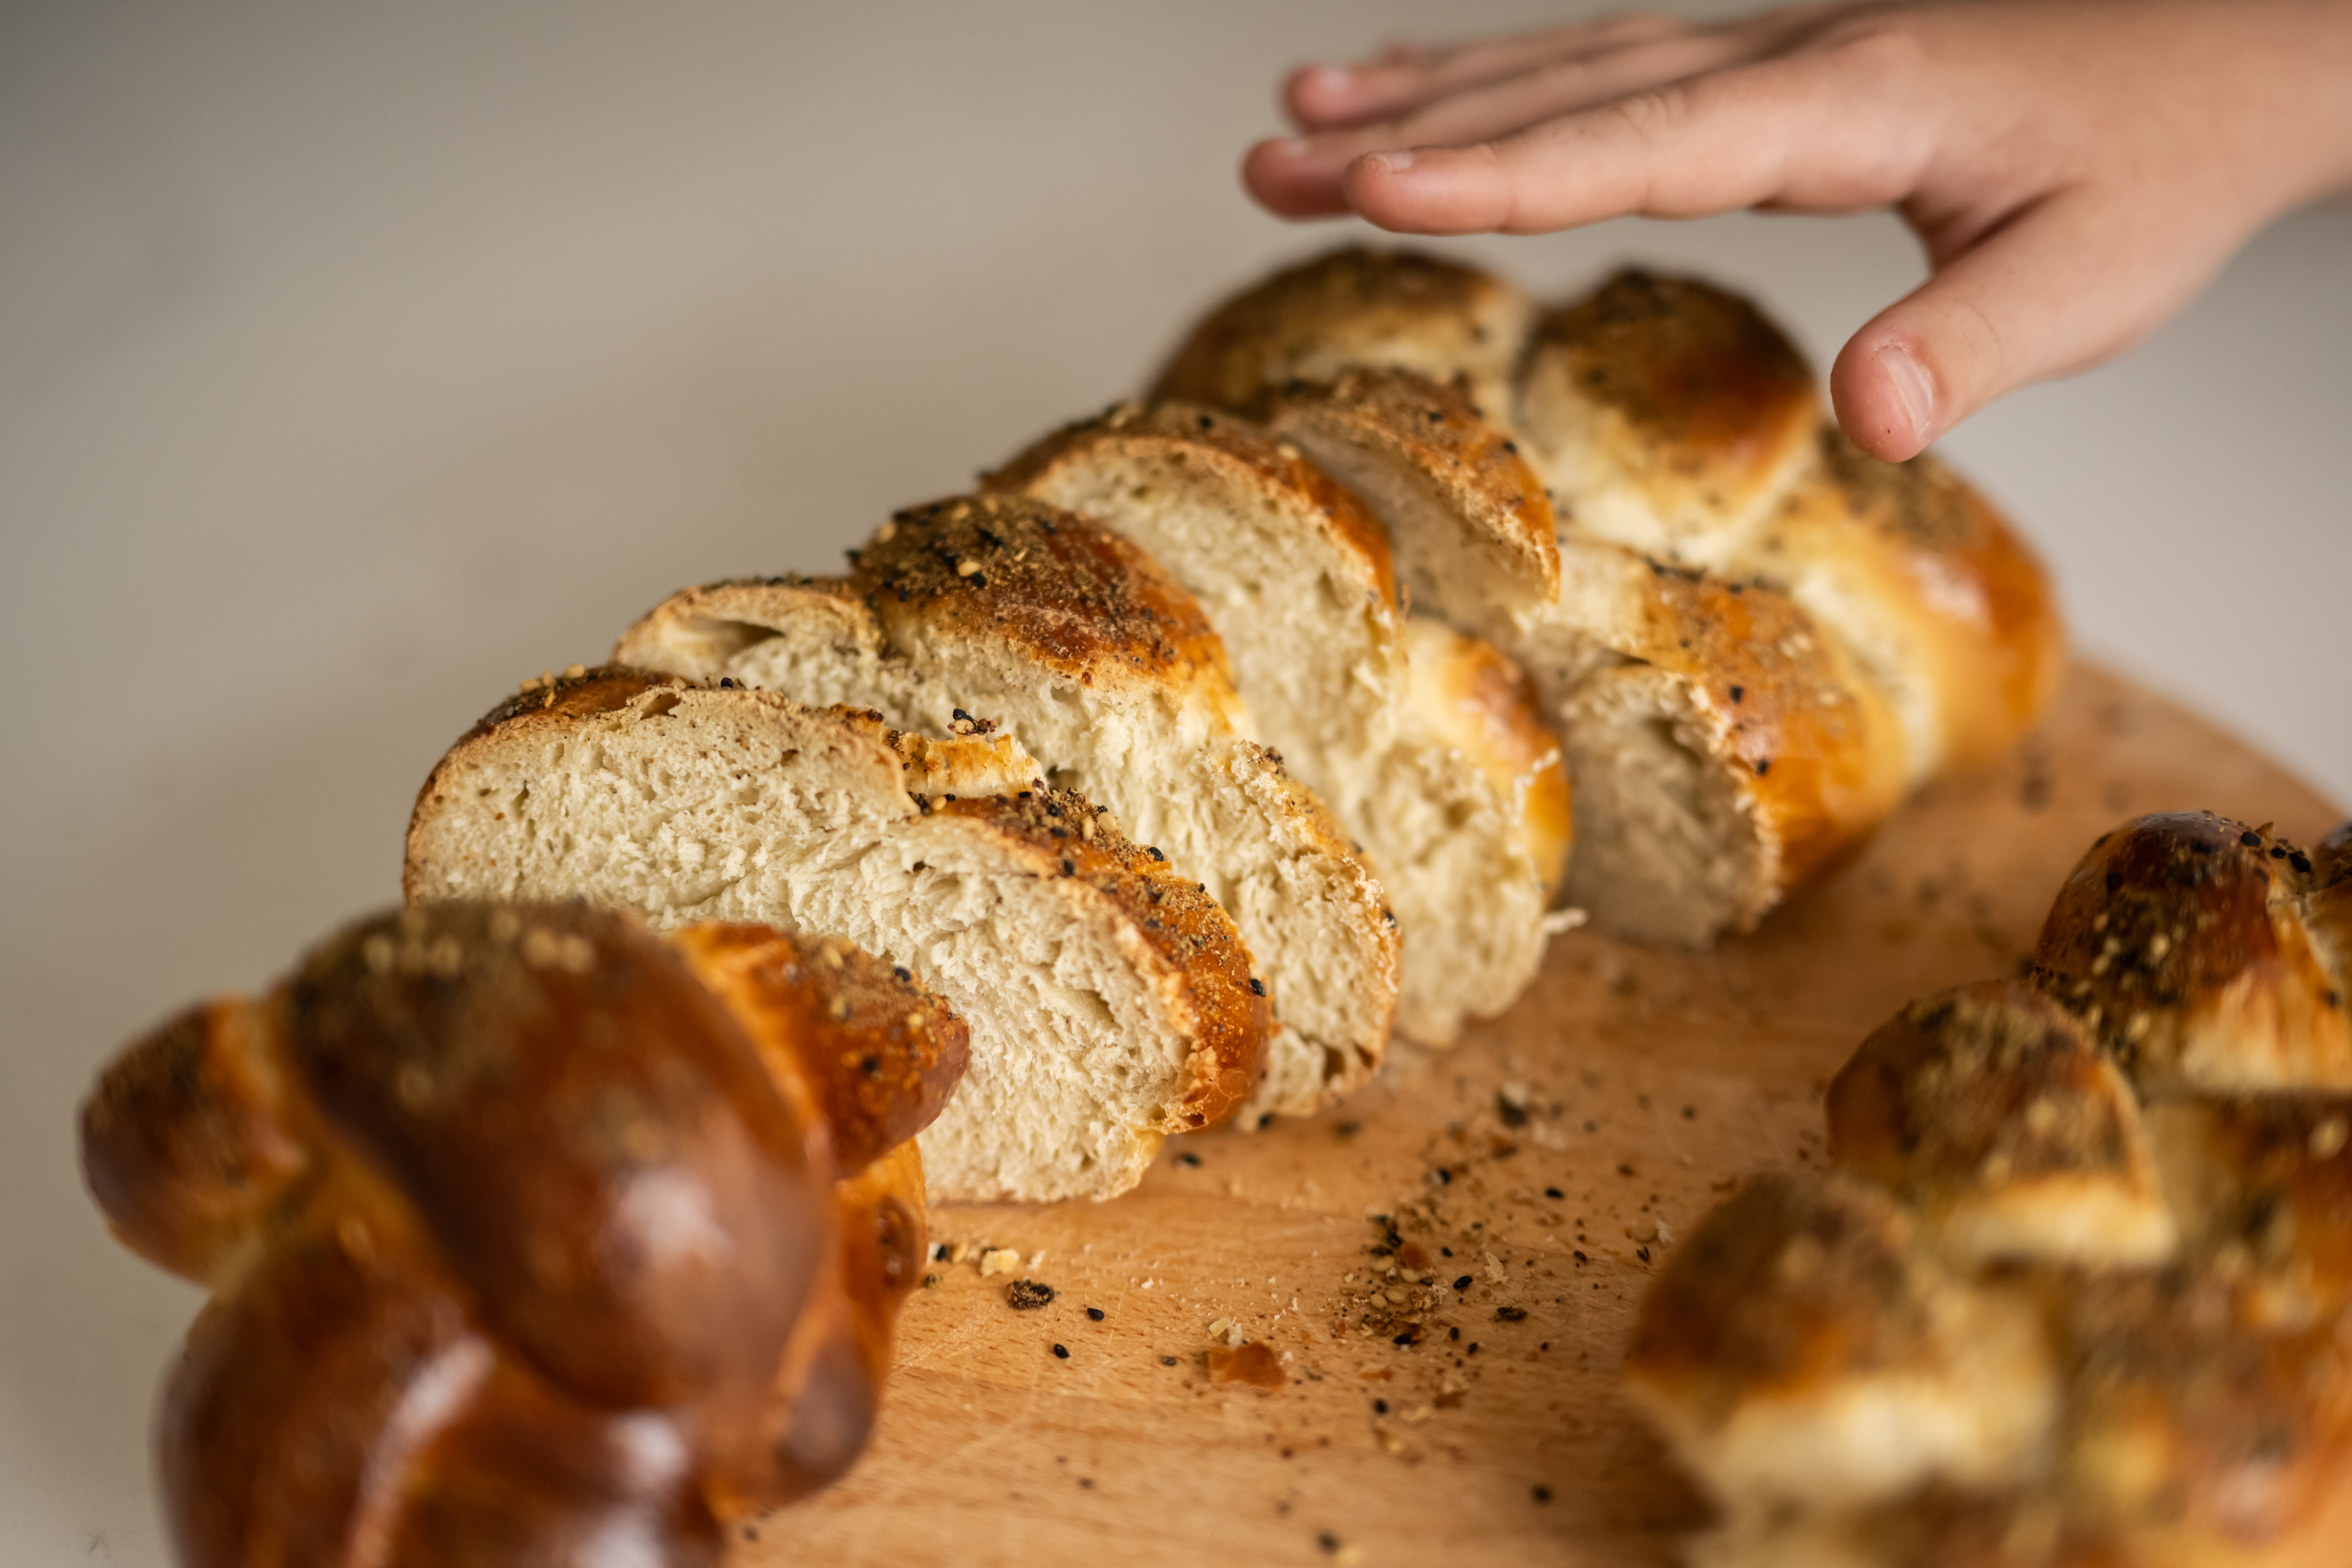
This challah is super savory and the perfect foil for the almost cake-like sweetness of many challahs made at home or sold in bakeries. The combination of za’atar and fried garlic makes this challah savory and moreish. When served alongside hummus and other salatim as part of an appetizer, it really comes into its own.
You may feel like a whole batch of za’atar and garlic challah is too much to have on hand. Like all my other challah recipes, it is designed so you can make the blessing over the separation of challah. That said, you can easily halve the recipe. On the other hand, like all my other challah recipes, it makes 6–8 medium to large challahs. Once baked and fully cooled, wrap well in aluminum foil, then place in a freezer-safe bag and frozen. Take the challah out of the freezer a couple of hours before you intend on serving it. Heat it through on a hot plate, and it will taste as if it just came out of the oven.
I actually have a freezer full of challah at all times—they make great gifts for community members and friends.
INGREDIENTS (make 6-8 medium challahs):
- For the Garlic Oil:
- 90ml (6 ½ tablespoons) olive oil
- 4 medium cloves garlic, minced
- For the Dough:
- 1,660g (3.66 lbs/ 13 1/4 cups) strong white flour
- 180g (3/4 cup + 2 tablespoons) granulated sugar
- 35g (1/4 cup) active dry yeast
- 30g (3 tablespoons) salt
- 4 tablespoons za’atar
- 1 teaspoon sumac
- 3 large eggs, lightly beaten
- 750 – 1000ml (3-4 1/2 cups) water
- For the Egg Wash:
- 1 egg, lightly beaten
- 1 tablespoon water
- For the Topping:
- 4 teaspoons za’atar
- 1 teaspoon sumac
- 1 teaspoon garlic powder
- 1 teaspoon nigella seeds
METHOD:
- Prepare the Garlic Oil:
- In a small pan, heat the olive oil over low heat. Add the minced garlic and fry for no more than 30 seconds, just until fragrant. Remove from heat and allow the oil to cool.
- Prepare the Dough:
- In a large bowl, mix together the flour, sugar, yeast, salt, za’atar, and sumac. Make a well in the centre and add the cooled garlic oil and eggs along with 750ml (3 cups) of the water. Add more water as needed. Knead the mixture inside the bowl several times until you have a cohesive dough with a few floury spots.
- Knead the Dough:
- Generously flour the work surface, then scrape the dough and any floury bits out of the bowl onto the surface. Use the heel of your hands to knead the dough, adding flour as needed (if the dough sticks to your hands or the surface), until the dough is smooth, elastic, and slightly tacky, about 10 to 15 minutes.
- Test the Dough:
- Pinch off a golf ball-sized piece and flatten it with your fingertips. Stretch the dough outward gently and slowly: You should be able to form a sheet of dough that’s thin enough to allow light to pass through without tearing. If the dough tears, continue kneading.
- Let the Dough Rise (First Rise):
- Gather the dough into a smooth ball and place it in a large, oiled bowl. Cover and let the dough rise in a warm spot until it’s doubled in size, about 1 to 2 hours (depending on the ambient temperature). The dough is risen when, pressed lightly with your finger, it feels airy and springs back, holding a slight impression. TIP: At this point, the dough can be refrigerated for up to 12 hours.
- Take Challah:
- Remove an egg-sized portion of dough from the risen dough. If separating for challah, now is the time to make your blessing: “Baruch atah Hashem, Elokeinu Melech haolam, asher kidishanu b’mitzvotav v’tzivanu lehafrish challah.” Once you’ve made the blessing, dispose of the extra dough in a respectful manner.
- Shape the Challah:
- Cut the dough into 18 portions, each about 150g, or you can divide the dough into smaller portions of about 75g each (you will get around 30 portions). Roll each portion into a long, thin rope, about 35–38cm (14–15 inches) long. Braid or plait as desired.
- Second Rise:
- Place the shaped dough on a baking tray lined with paper, at least 5 cm (2 inches) apart. Cover and let it rise again, about 1 to 2 hours, until puffy (if the dough was refrigerated, this step may take an additional 30 minutes). TIP: Alternatively, you can refrigerate the dough before the second rise for up to 12 hours. If refrigerated, let the dough come to room temperature (about 30 minutes) before baking.
- Make the Egg Wash:
- In a small bowl, combine the beaten egg with 1 tablespoon of water. Brush the challahs with the egg wash and sprinkle with the toppings (za’atar, sumac, garlic powder, and nigella seeds).
- Bake:
- Preheat your oven to 180°C (350°F). Bake the challahs for 35–40 minutes, rotating trays halfway through cooking. Bake until the challahs are golden brown, and when tapped on the bottom, they sound hollow. For perfectly baked challah, use a thermometer to check the internal temperature; it should reach 90°C (194°F).
- Cool:
- Allow the challah to cool on a wire rack before slicing and serving.
MAKE AHEAD:
- The challah dough can be kneaded and rise in the fridge for up to 12 hours. After this, continue with step 7 (Take Challah).
- The dough can be shaped into challahs, and then do its second rise in the fridge for up to 12 hours. Afterward, continue with step 10 (Make the Egg Wash).
- Once the challahs are fully baked and cooled, they can stay at room temperature in an airtight bag or container for up to 2–3 days. Alternatively, they can be wrapped and frozen for up to 3 months. To reheat, simply defrost and warm on a hot plate for a fresh-from-the-oven taste.